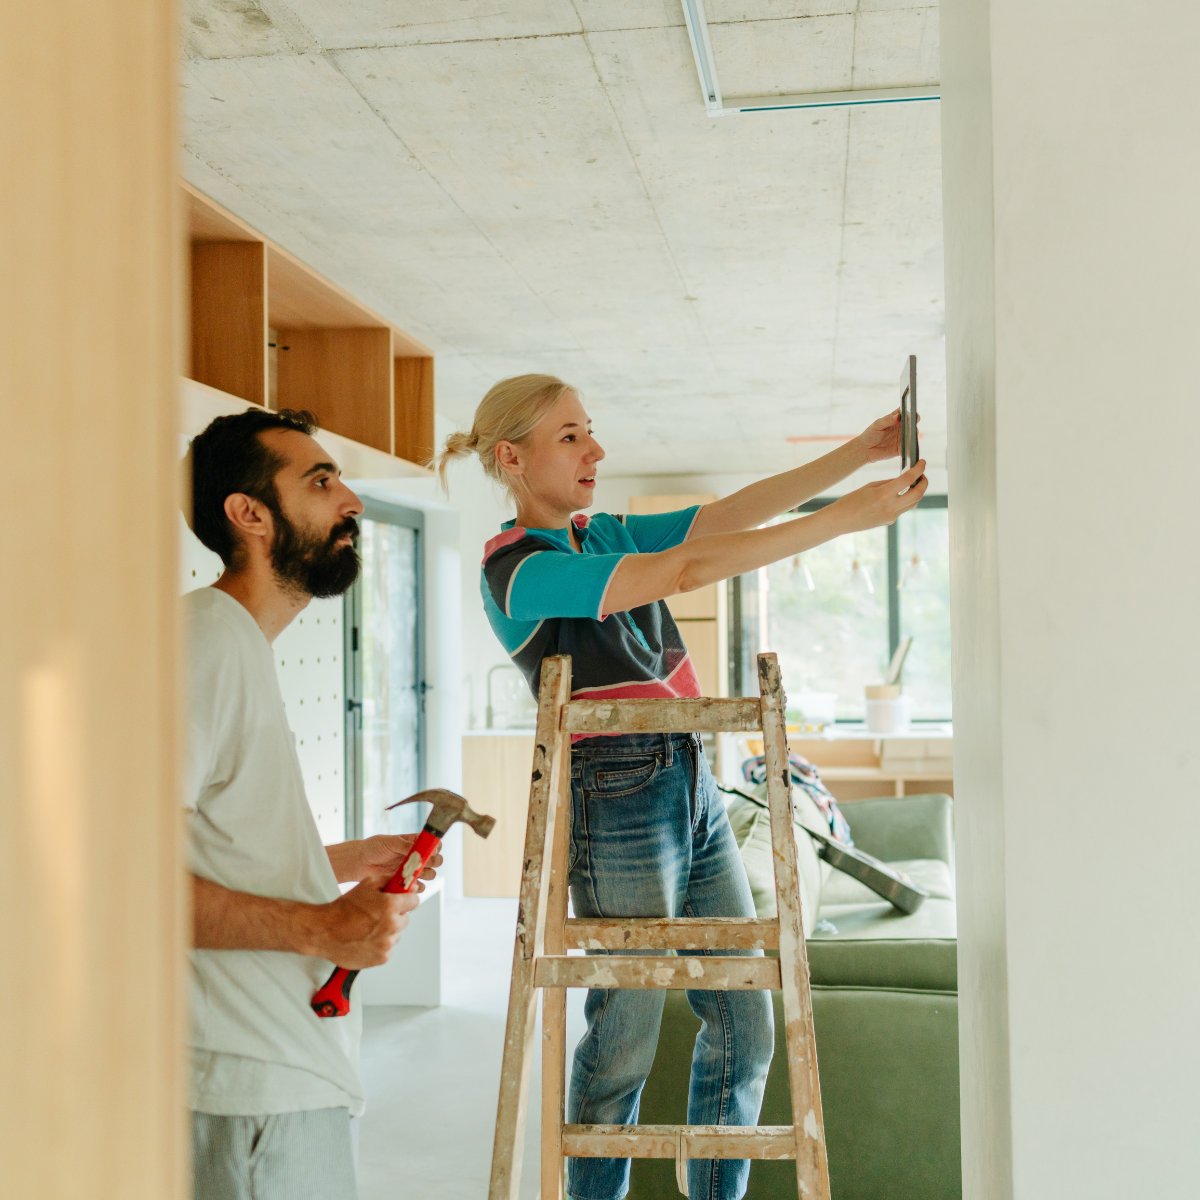
Remodeling your home with DIY projects can give your home a fresh look for less. But before you pull out your tools, here are the projects we recommend leaving to professionals.
Spray painting your bathroom hardware is an obvious DIY update that can't go terribly wrong. But when it comes to more intensive home improvement projects, how can you tell whether it's a DIY job or time to hire a professional? We lean on expert advice to learn which remodeling projects you should skip attempting yourself, plus what to consider as you tackle some of the most common home updates without a pro.

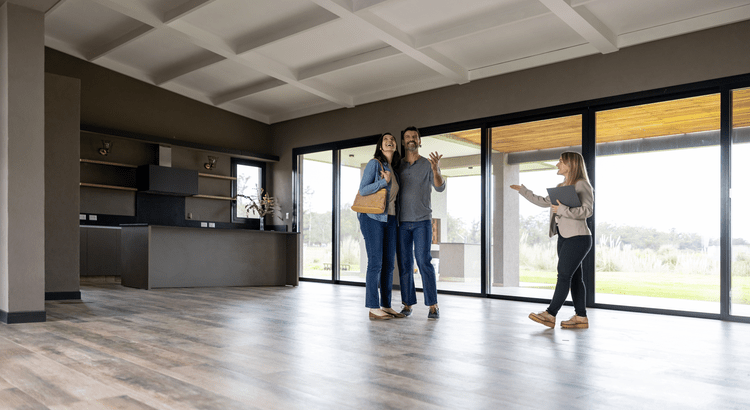
Home Improvement Projects to Hire Out
Trust us—these projects require special training and tools that an average DIYer shouldn't tackle.
1. Replacing Windows
Whether you have a damaged window or want to better insulate your home, DIY window replacement "can get a little complicated, unless you have experience," says Lyman Gilbert, owner of LG Building & Remodeling in Southbury, Connecticut. You need to know how to measure your windows correctly and which parts to get for your home, including exterior cladding, vinyl, wood, grill patterns, and glazing, Gilbert says. Installation for one window can take up to 4-6 hours. Add more time if you need to change your exterior trim, update the size or shape of your window (which requires reframing), or have to paint and caulk.
2. Removing Insulation
Some nasty contaminants can live in old insulation, including mold, dust, animal feces, fiberglass, and possibly asbestos. If you aren't sure how to properly remove insulation, you can endanger yourself and your family's health if these contaminants get into the air. "This is one of those jobs to do if you're ambitious because it requires getting into very uncomfortable spaces. It's also an itchy job. Since all insulation is some derivative of glass, tiny bits of glass can stick to your skin, making your skin itchy. You must wear skin-, low-level breathing-, and eye protection," Gilbert says.
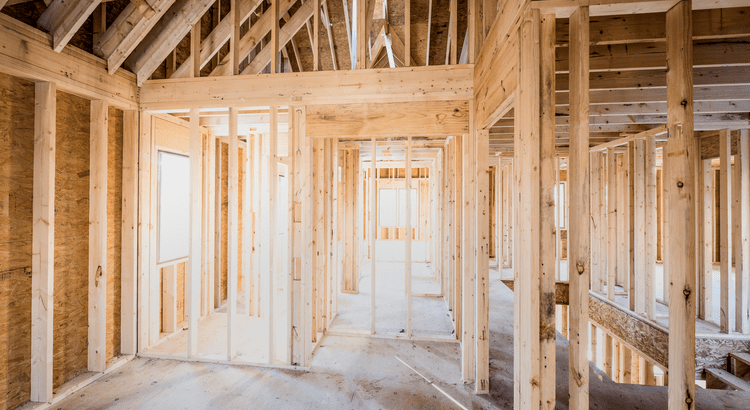
3. Removing Walls
Once you remove plaster or drywall, you might find electrical cables, air ducts, plumbing drain lines, and even boiler piping. You'll need to re-route these before you can completely remove a wall. You'll also need to check for load-bearing walls—walls that transfer load from an above floor down through another wall, beam, and/or foundation. "Some walls don't seem to be structural, but they are, and you can get yourself into a lot of trouble if you have a sagging wall or ceiling that can lead to a collapse," Gilbert says. Load-bearing walls impact the safety of your home by supporting an attic, a second floor, and pressure from the roof. "Without some knowledge of what the structure is that the walls are holding up, leave this to the pros," Gilbert recommends.
4. Sanding & Refinishing Floors
Refinishing and sanding your hardwood floors is a time-consuming project. "Hand-held sanders will take a very long time, and the equipment that professionals use can be rented, but this stuff is hard to manage and you can potentially ruin your floor," says Gilbert. To do a job efficiently, professionals use a large drum sander that requires 220 volts and an edger (a high-power disc sander for corners). "One wrong move will put a gouge in your floor," says Gibert. "Without experience, I do not suggest trying this on your own."
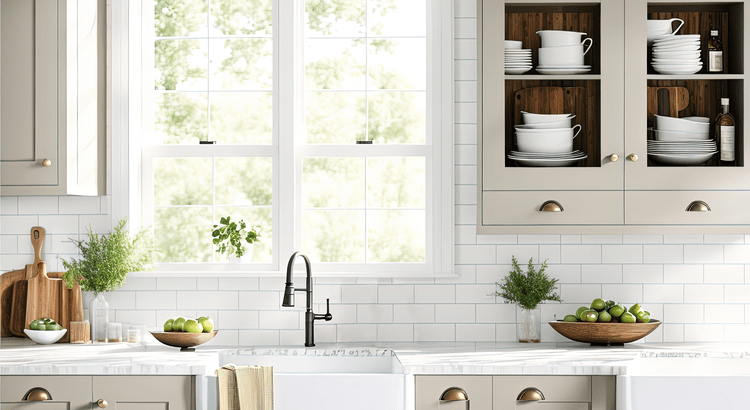
5. Painting Paneled Cabinets
Unlike painting walls, you need to take off each door, piece of hardware, and sand down any visible wood grain on cabinets. "One of the biggest mistakes I see homeowners make is not sanding cabinets before painting. You don't have to take the finish off, but you do have to scuff the surface, which creates a bond between the old and new finish before you paint," Gilbert says. He also recommends a quality primer and follows the manufacturer's paint recommendations between coats. This DIY project will get trickier if you work with raised-panel or inset-panel doors versus flat cabinet doors. Gilbert also suggests spraying your cabinets rather than brushing them since brush strokes will leave marks.

Home Improvement Projects You Should Do Yourself
1. Peel-and-Stick Wallpaper
Removable wallpaper with a peel-and-stick application is a fool-proof way to bring a plain space to life. With a variety of options, including floral patterns, stone textures, and bright colors, this wallpaper is perfect if you're looking to create a bold, expressive interior without the long-term commitment. Plus, it doesn't leave any residue behind. You can go beyond your walls, too! Use wallpaper to dress up your furniture, stair risers, drawers, and bookcases.
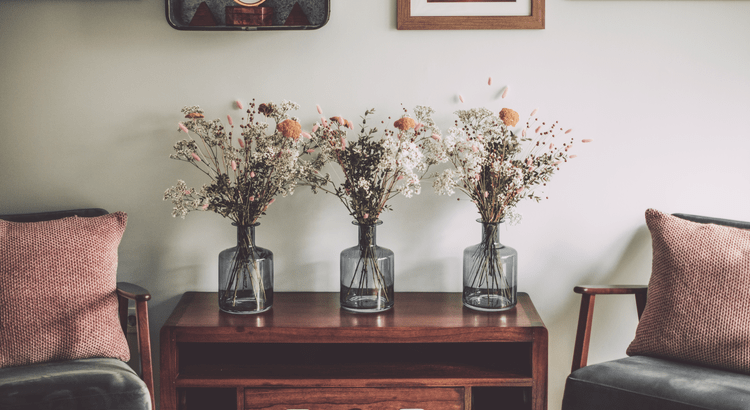
2. Refinishing Furniture
Restoring your wood furniture only takes a few hours, and all you need is wood stripper, polyurethane, sandpaper, and a few basic tools. You can also refinish and spray-paint hardware a different metallic shade or a fun pop of color like teal, hot pink, or a dark, moody blue to quickly refresh furniture. If you do not want to refinish your wood with a stain, you can try a chalkboard or latex paint for a new look.
3. Resealing Your Bathtub
Moldy or peeling caulk in your bathroom can be a quick and easy fix. Plus, all you need is a caulking gun, scissors, and a nail to finish the job. Caulking your bathtub seals cracks and creates a strong connection between your bathtub and wall for a polished look.
SOURCE: Better Homes and Gardens